
Perfect shape? Check.
Maintenance routine? Check.
What else do I need to know?
These days having perfectly groomed yet “natural” brows is becoming a part of everyday makeup for a lot of women, thanks largely to Instagram.

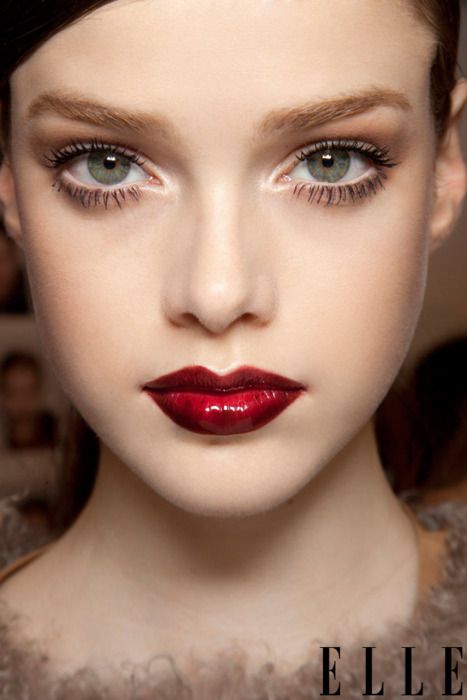
Now whilst I don’t advocate for the “Instagram Brow”, I do think that when done well this extra step in your daily routine really helps to lift the eye area, frame your face and freshen your look.
While the "Instagram Brow" style demonstrates a lot of precision and skill, I don’t think the finished look is as beautiful as the illusion of a naturally full brow.
But with so many products on the market its hard to navigate how to fill in your brows and whats best to use. Luckily for you guys, I’ve ridden every wave of the brow trend in recent years so I can help you avoid the pitfalls of overdone brow makeup.
FILLING IN BROWS
Where do I start?
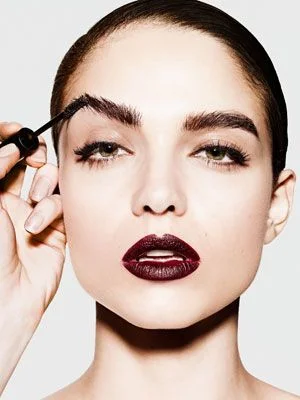
Always groom brows with a spoolie brush before you begin. Comb hairs in the direction you want them to sit. This will help you to visualise your finished look and not fill in more than you need to.
Aim for symmetry. Whilst I know too well that brows are sisters not twins (trust me, one of mine is about a cm lower than the other!), try to create balance between your two brows with pencil, powder or gel products.
How do I know what colour to choose?
Aim to choose a product the exact colour of your brow hairs, not the hair on your head. Brow hair tends to be slightly ashier than the rest of our hair. If you choose a colour that is too warm, it can look out of place and be careful not to go too dark as this can look really harsh against the rest of your colouring. Check out the colour chart below for a bit of extra help.


What tools do I need?
You will need your spoolie, an angle brush and your brow products (pencil, crayon, gel/pomade, or powder).
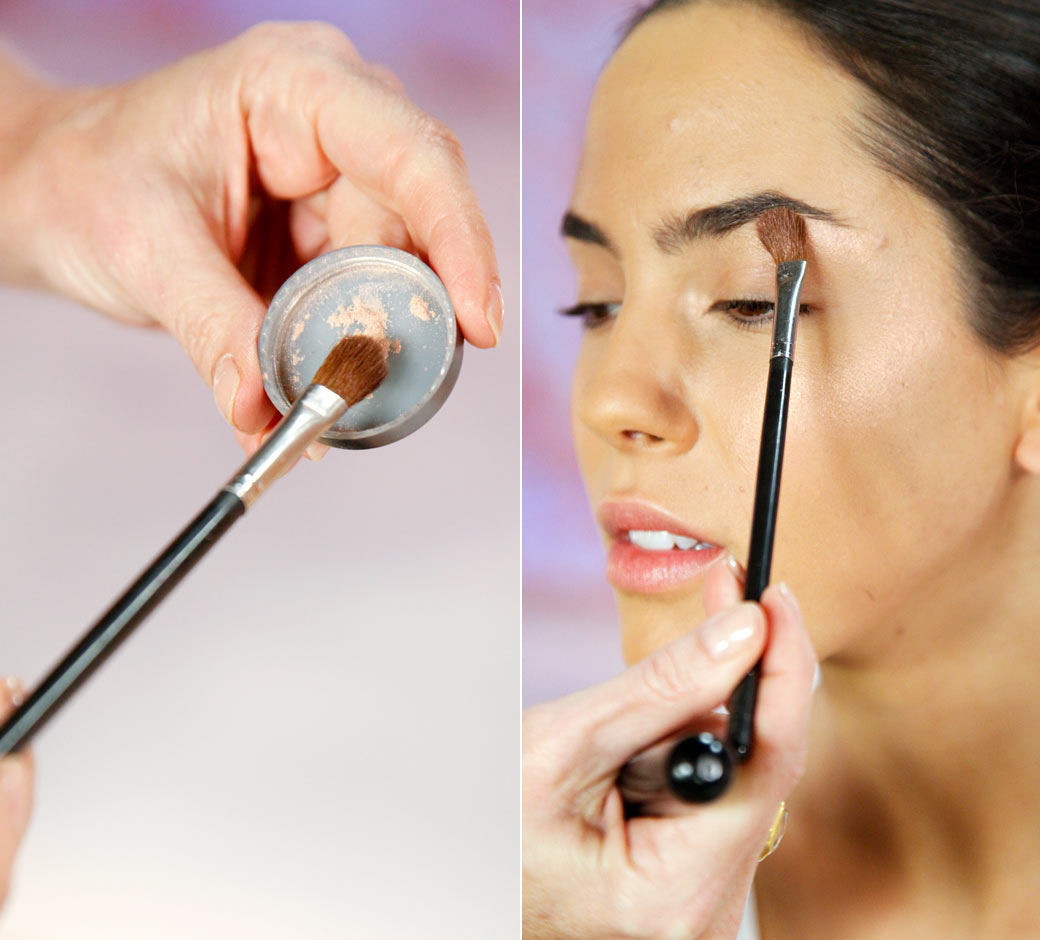
When working with powder or pomade, make sure to use a thin and tight angled brush. A good angle brush will help create the shape of your arch and do the hard work for you.
You need to make sure that your brush is in good shape. Over time brush hairs tend to splay and can really disrupt the tapering of your brows causing them to look a little smudgy instead of well defined.

How should I be filling them in?
Go easy! Use small strokes and a light hand to create the illusion of strands of hair - you can always build up product.
PRO TIP: If you overdo it and create too dark or harsh a line, soften it with a spoolie brush.
No matter what product you choose, aim to add colour to fill in gaps and from the top of your brow. Adding colour this way gives a natural lift to the eye, highlighting the area and drawing attention to your eyes. Whereas drawing in your brow from the bottom can lower your brow and create a harsher looking line. Remember our dear friend gravity? life is pulling our face down enough, colouring from the top of your brow will give you an instant face lift.
I like to add product in the opposite direction of the hair growth, particularly If you have gaps in your brows. This ensures that the product sits on your skin creating a shadow from beneath the hair, making your brows appear more naturally full as product isn’t clumped in the hair follicle.
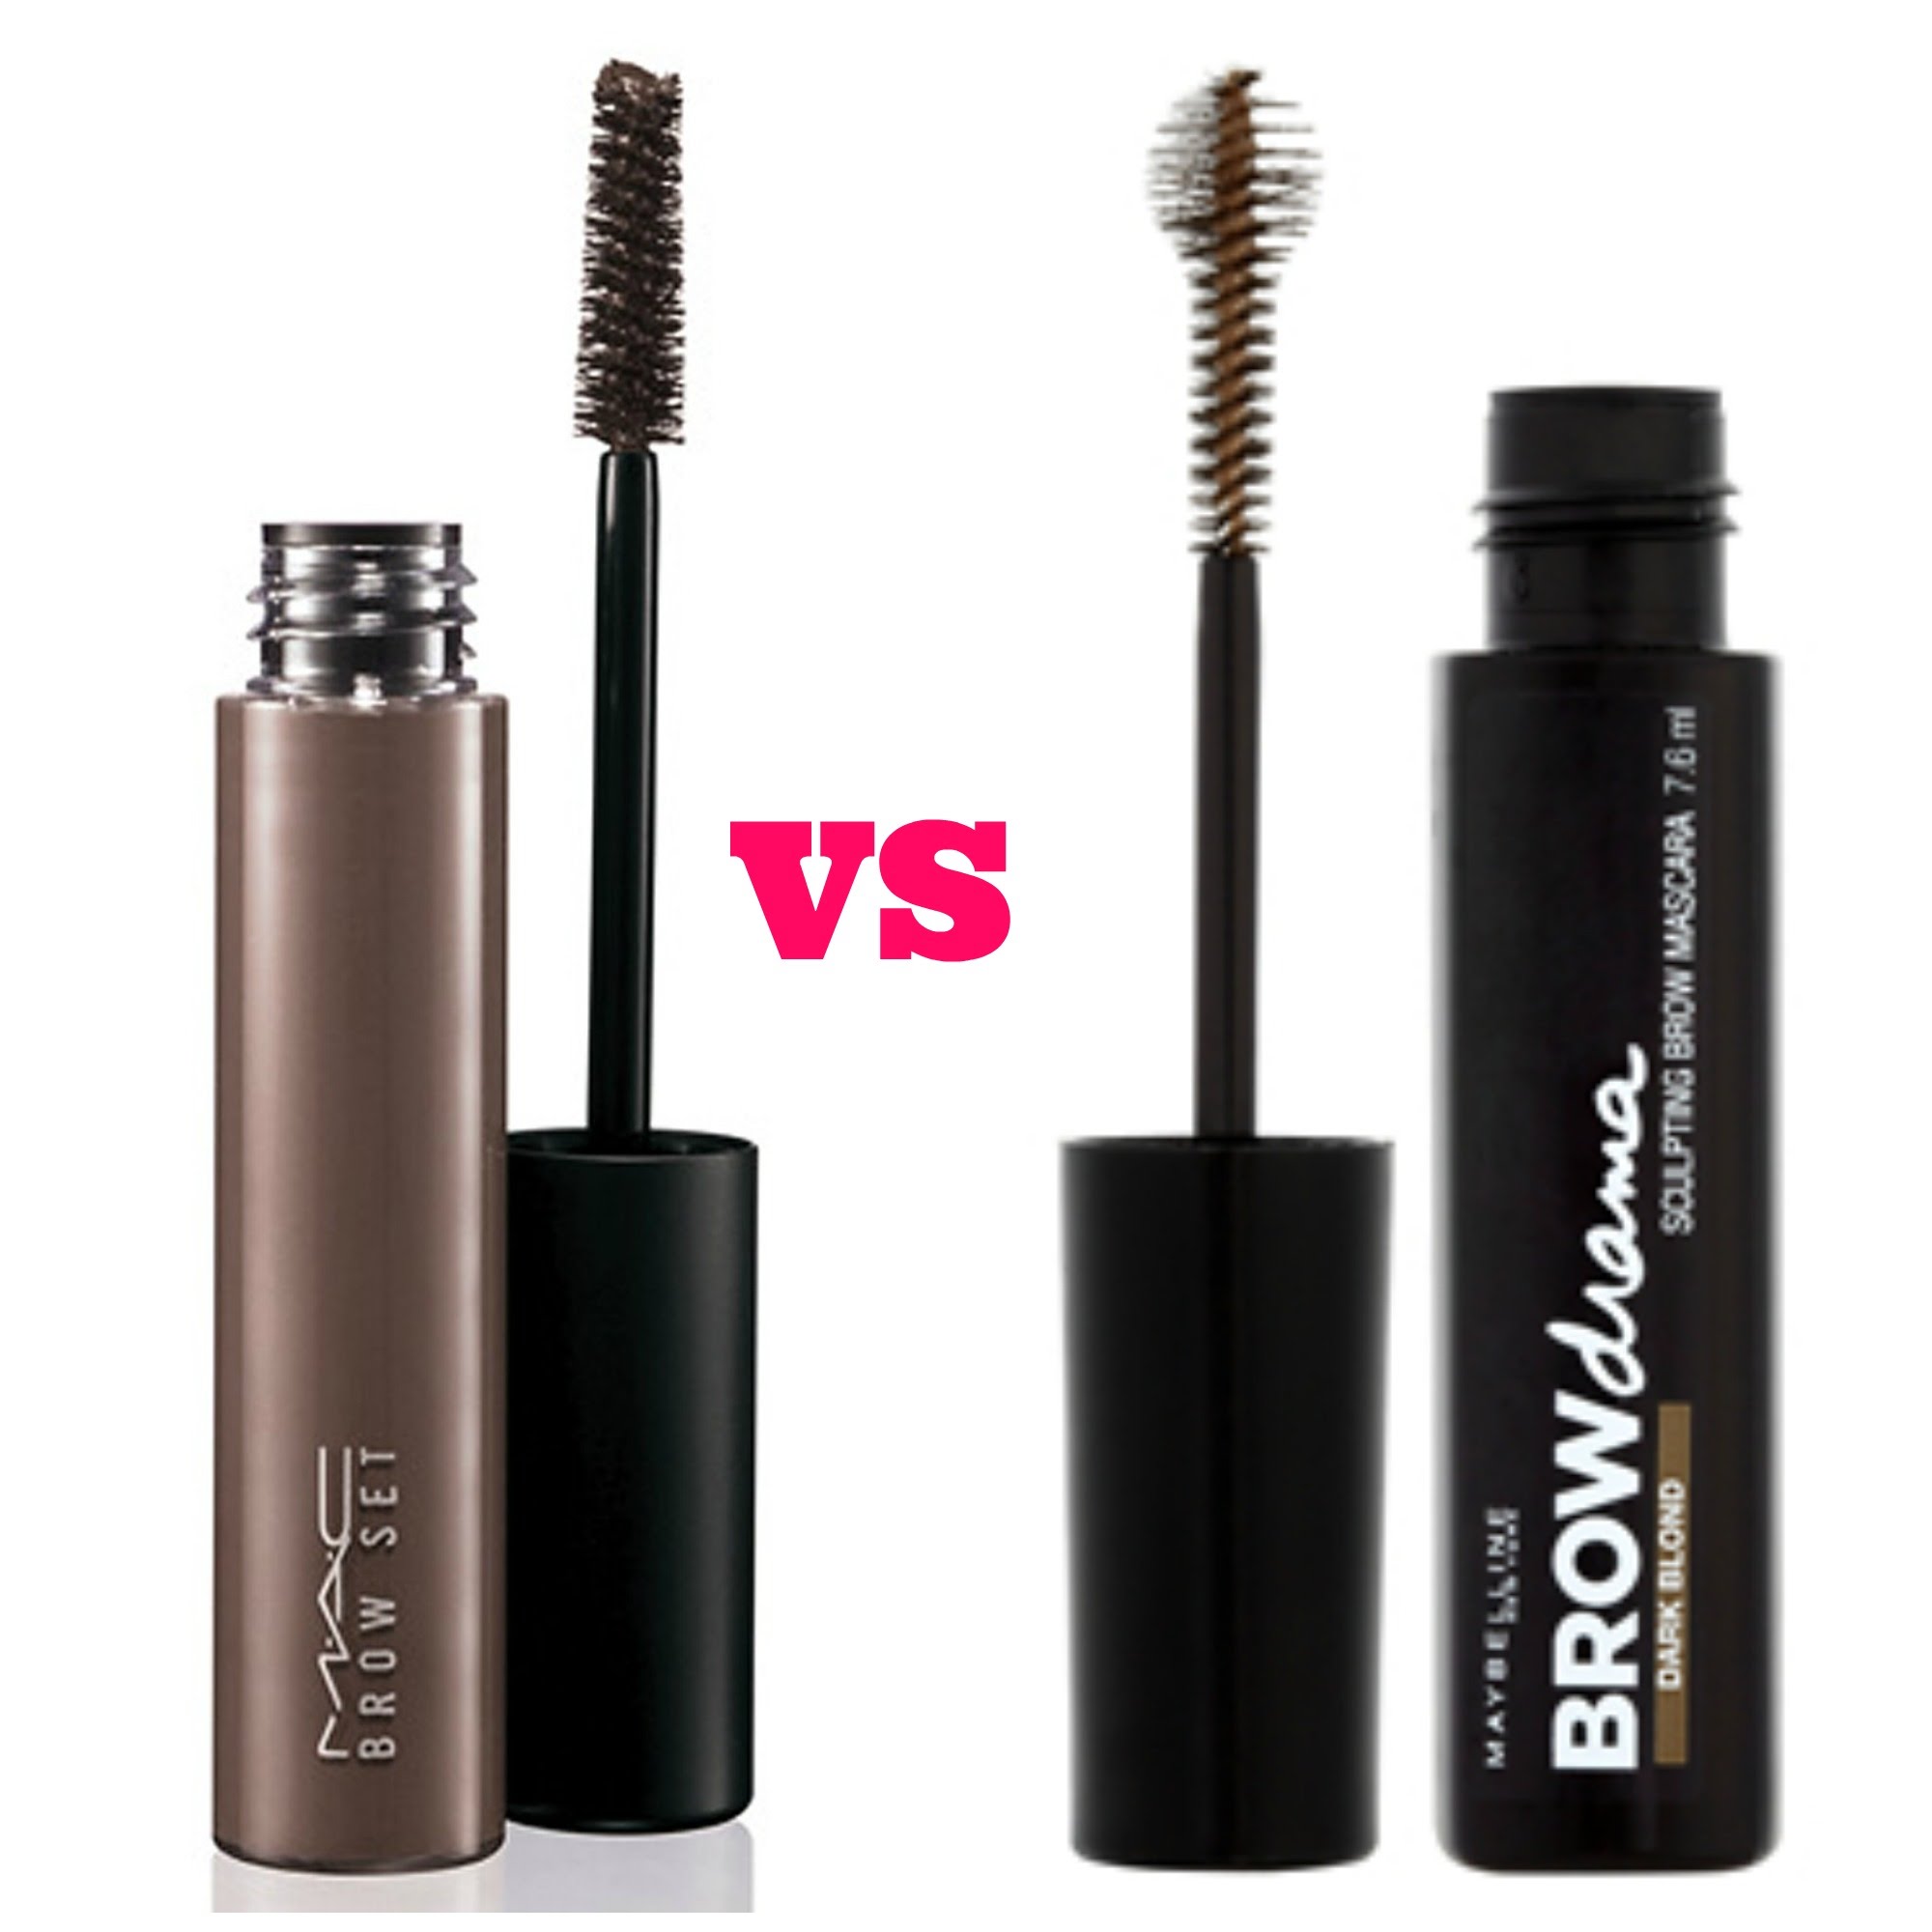
Always finish by combing your brows into position with a brow gel. You can use clear or coloured, my favourites are the MAC Brow Set and the Maybelline Brow Drama Sculpting Brow Mascara as they both have a slightly shiny finish just like natural hair.
How do I know what product is best for me?
If you’re new to all this I recommend powder - It’s also what I use most professionally. There’s a couple of reasons for this:
- It looks the most natural as it’s soft and light in pigment, but you can build up colour when needed.
- There’s a large range of shades available so you can find a great match for you.
- You can use it dry or wet to create a sharper line.
- It’s easy to remove or soften if you make a mistake.
My favourites brow powder products are Illamasqua Brow Cakes, the Senna Brow Book and Anastasia Beverly Hills Powder Duos.


If you are fair, need a lot of colour or are in a hurry brow pencils or crayons are the way to go. They deposit strong colour quickly and help with precision of application. Always remember to keep your pencil sharp so you can create small hair-like strokes. I think the best crayon on the market is the Anastasia Beverly Hills Brow Wiz. My favourite pencil is the Shu Eumura Hard Formula Pencil in number 9; it suits nearly everyone!


Gels or pomades are long-wearing products that are the consistency of gel eyeliner. They are usually waterproof and come in a range of colours. My favourite is the Anastasia Beverly Hills Dipbrow Pomade. Remember to use a small angle brush and minimal product as these go on wet and are highly pigmented.
What other tricks are there?
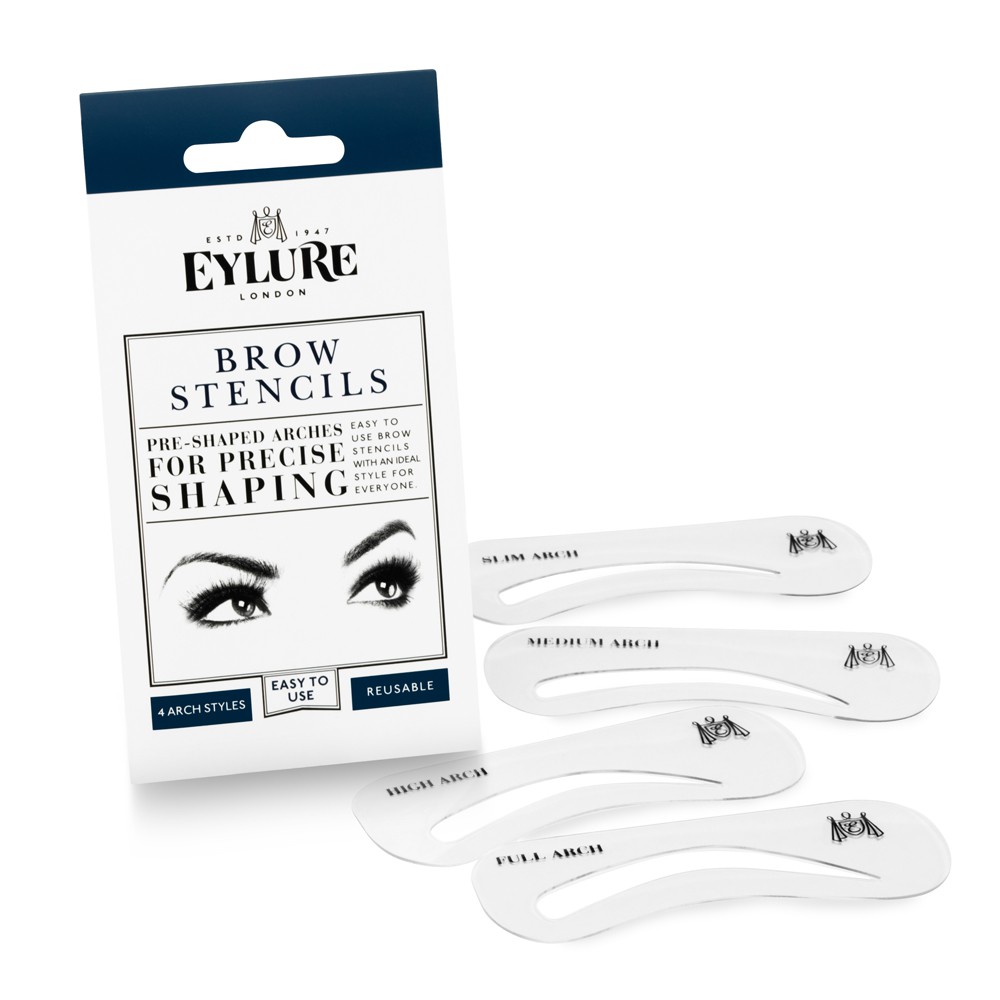
- If you're still not sure how to create the shape try starting with a stencil. There are plenty on the market just make sure to find a shape you like.
- If your brow needs a little lift, try applying a light skin tone shadow just under your arch to the tail of your brow for an instant highlight.
- Need a lot of help or want a supermodel brow? You can also get some amazing products, like Silk of Morocco Fibre Brow Enhancer, which go on like a brow gel but actually contain small fibres that adhere to your hair making your brow hairs appear thicker.


Lastly, try tinting! It lasts up to six weeks and picks up all of the blonde baby hairs within your eyebrows and matches them to a prominent colour giving the illusion of a naturally thicker brow. Tinting is also perfect for those with blonde hair that they don’t think is worth shaping - it will help accentuate what is truly there so that you can make the best of your shape. I think it just give the eyes a bit of pop!
Wow! Now that should well and truly have your brows covered! I'm so pleased to share the ins and outs of brows with you all and help you to put your best brows forward!
xx FemFox